MVC, Node, and Express: The View (Part 4)
Welcome to Part 4 of this mini-series on MVC in Node and Express. In this final part, we’re exploring the third layer of the MVC stack, the View.
The view is responsible for deciding how data is presented to the user in the application, also known as the User Interface (UI).
As discussed in Part 1 of this series, the very first component required in backend development is the controller. Even in MVC implementations where the browser only interacts with the view layer, there will always be an initial request to the controller to load the main page. After this, almost all of the browser interaction is within the view layer.
To build out rich, dynamically-created views, the server needs to be able to pull data from the database via user queries and present that data to the user in a clear and organized fashion. This requires a new package, a templating engine.
A templating engine’s main job is to render a view based on data requested from the database server. Let’s take a look at how that is organized in code.
We start in the routing file where the controller receives the initial request for a web page. The code might look something like this:
const Posts = require('../models/Posts')
const express = require('express')
const router = express.Router()

router.get('/dashboard', async(req, res) => {
    try{
        const Posts = await Posts.find({ user: req.user.id })

        res.render('dashboard', {
            name: req.user.firstName,
            Posts
        })
    } catch(err) {
        console.error(err)
        res.render('error/500')
    }

})
In the require statements, we’re importing a MongoDB schema for a user’s posts as well as importing Express and the Router middleware.
For this route, when a request is made to the /dashboard route, the controller calls the templating engine with the .render( ) statement.
In our main app.js file, we’ve added two new lines of code to enable this templating engine. First, we’ve imported the Handlebars templating engine and secondly we’ve set it as the templating engine within Express.
const express = require('express')
const mongoose = require('mongoose')
const exphbs = require('express-handlebars')

.
.
.

app.set('view engine', '.hbs');

.
.
.

app.use('/', require('./routes/index'))

.
.
.
Now that our engine is enabled, let’s return to that statement in the router.
res.render('dashboard', {
            name: req.user.firstName,
            Posts
})
This statement will go to the default directory for Handlebars and look for the dashboard.hbs file. Additionally, it will render the page with the username requested from the database as well as all of the Posts documents within the database.
<h6>Dashboard</h6>
<h3>Welcome {{name}}</h3>
<p>Here are your posts:</p>
{{#if Posts}}
    <table class="striped">
        <thead>
            <tr>
                <th>Title</th>
                <th>Date</th>
                <th>Status</th>
                <th></th>
            </tr>
        </thead>
        <tbody>
            {{#each Posts}}
...
Put simply, this file will populate the {{name}} field with the username and then will dynamically generate the HTML for the webpage populating the table with all of the user's posts from the database using the {{#each Posts}} if the user has posts to display.
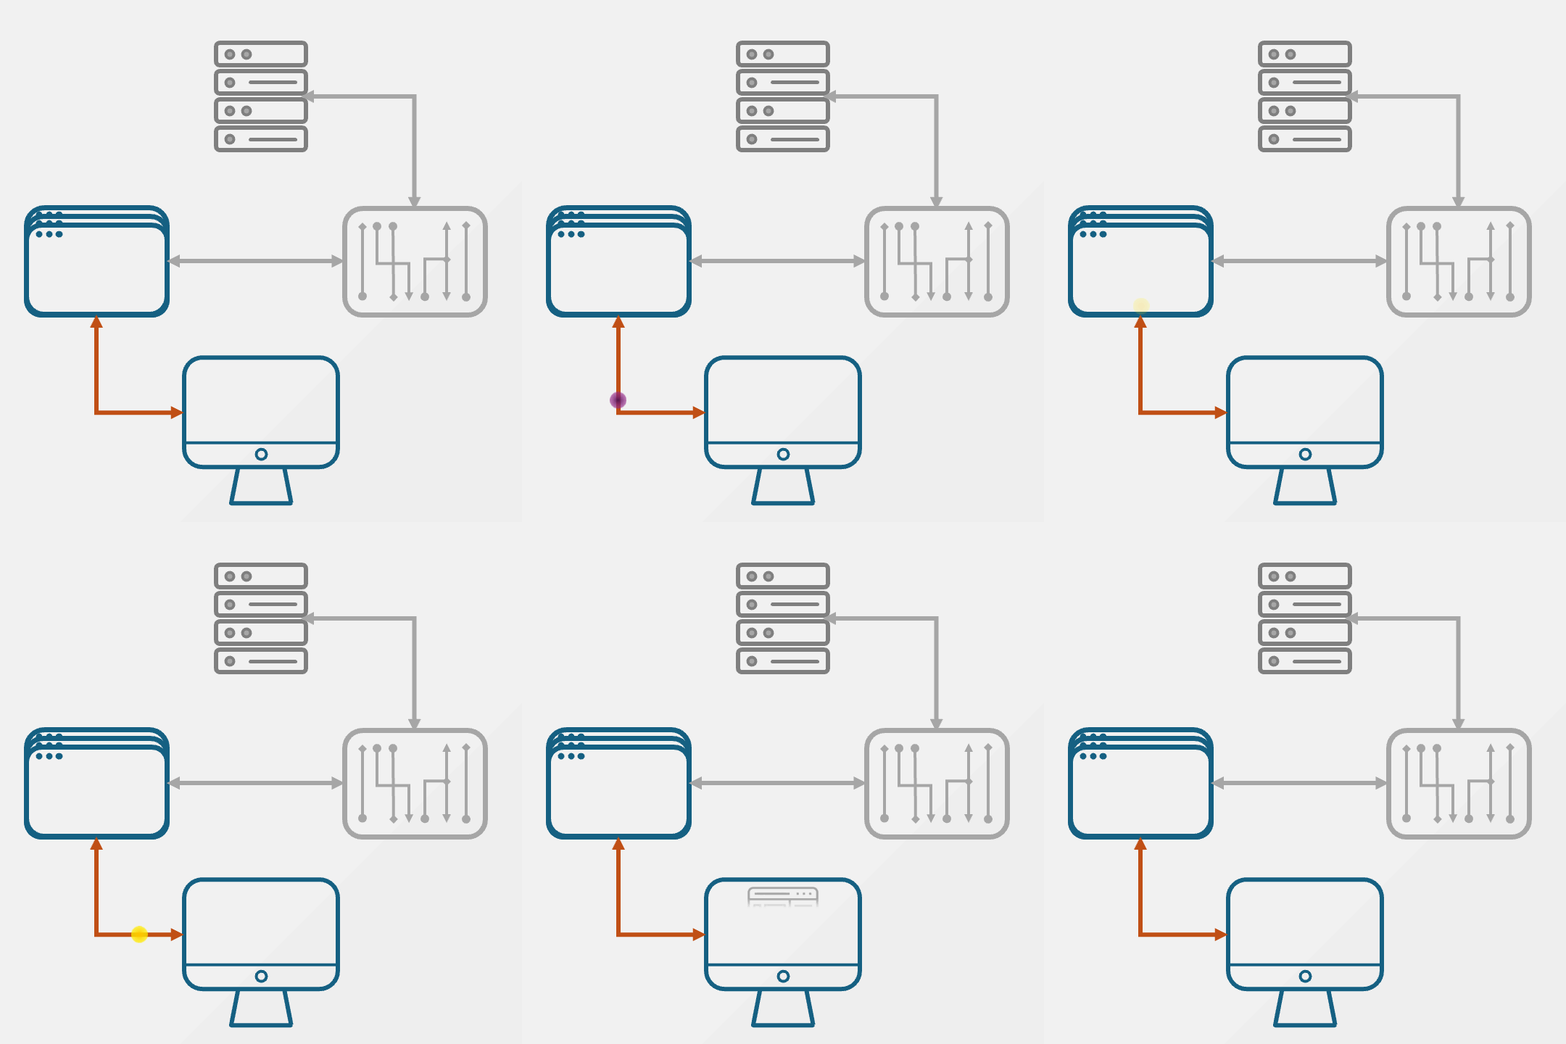
All of this logic can be summarized by the following flowchart:
As we can see, it didn’t take long for the complexity of this project to increase significantly from our simple controller-only server in Part 1. Implementing MVC design patterns and good file and folder structure is absolutely essential in keeping things organized, modular, and easy to understand as projects and teams grow.
It may not seem like much but after adding in our authentication middleware (see the next post), we are about all set to build out full stack applications. See you in the next one!


